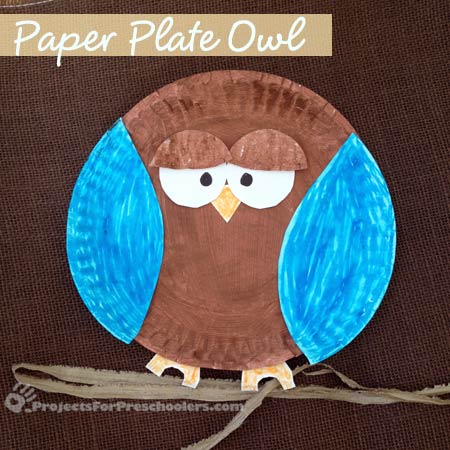
I love paper plate crafts, they are usually really easy to do and the supplies are minimal. So as fall was approaching, I was thinking an owl would be perfect! You can use crayons, paint or markers. We chose markers and paint because I’m deeply in love with the idea of painting washable markers right now. You can color your owl completely different from mine, so experiment and see what you and your preschooler can come up with.
Material you need:
- 2 paper plates
- Glue
- Blue washable marker
- Brown paint
- Black marker
- Scissors
How to make your own paper plate owl:
- Paint one plate completely brown and set aside to dry.
- From the 2nd paper plate, cut 2 wings, one from each side of the plate. With the remaining paper, cut out 2 circles for eyes, 2 half circles for eyelids, 2 crescent moon shapes for feet and a triangle for a beak.
- Color the wings with a blue marker. For more fun, use a paint brush with water to “paint” the color on the wings.
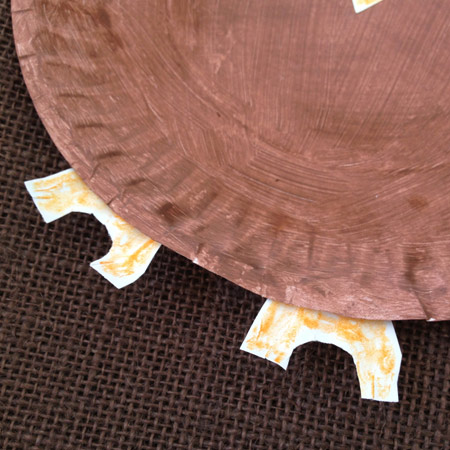
- Color the beak and feet yellow.
- Paint the eyelids brown.
- Glue everything in place and then draw dots in the eyes.

I’m sure I haven’t seen an owl with blue wings before, but we love this color choice. You can add glitter or other extra craft supplies to dress up your owl if you’d like. I’d really like to see a classroom full of paper plate owls, each different. If you make this project I’d love to see how your owl turns out!
Very cute. This would make a fun bulletin board, with a bunch of children’s owls up in a “tree.” I like the way your owl’s branch and all are laid out in the top pic. 🙂 I was thinking, it could be a neat craft for the youngers at Vacation Bible School, too!
Enjoying your site!
~Sheila 🙂